
Posts in category 'Diy Before Selling Home'
Thoughts by Julie & Joan
 RSS Feed
Subscribe and receive email notifications of new blog posts.
RSS Feed
- 2026 | 23 Posts
- 2025 | 48 Posts
- 2024 | 48 Posts
- 2023 | 48 Posts
- 2022 | 46 Posts
- 2021 | 46 Posts
- 2020 | 46 Posts
- 2019 | 31 Posts
- 2018 | 1 Posts
- 2017 | 9 Posts
Anna Maria Island, FL | 6 Posts
Area Information | 21 Posts
Bradenton Beach FL | 1 Posts
Bradenton FL | 14 Posts
Buying a House | 13 Posts
Buying Homes | 4 Posts
Charlotte County | 1 Posts
Cleaning Tips | 1 Posts
Clutter | 1 Posts
Community Information | 8 Posts
Curb Appeal | 1 Posts
Decorating | 3 Posts
Design Trends | 2 Posts
DIY Before Selling Home | 1 Posts
Dream Home | 6 Posts
Ellenton FL | 1 Posts
Events | 4 Posts
Family Fun | 5 Posts
First Time Homebuyers | 1 Posts
For Buyers | 1 Posts
Gardening | 2 Posts
Helpful Tips | 2 Posts
Holidays | 14 Posts
Home Improvement | 27 Posts
Home Maintenance | 9 Posts
Home Resolutions | 1 Posts
Home Selling Tips | 2 Posts
Homeowners | 2 Posts
Homeownership | 5 Posts
Lakewood Ranch, FL | 1 Posts
Leap Year | 1 Posts
Longboat Key, FL | 2 Posts
Moving | 5 Posts
New Neighborhood | 1 Posts
Pest Control | 1 Posts
Pet Owners | 2 Posts
Press Releases | 1 Posts
Real Estate Investment | 1 Posts
Real Estate Market | 5 Posts
Renovations | 1 Posts
Retirement | 3 Posts
Sarasota FL | 43 Posts
Sarasota-Manatee | 103 Posts
Selling Your Home | 4 Posts
Siesta Key FL | 1 Posts
Wagner Realty | 12 Posts
Weatherize Your Home | 1 Posts
October
3
3
DIY a Barn Door With These 7 Steps
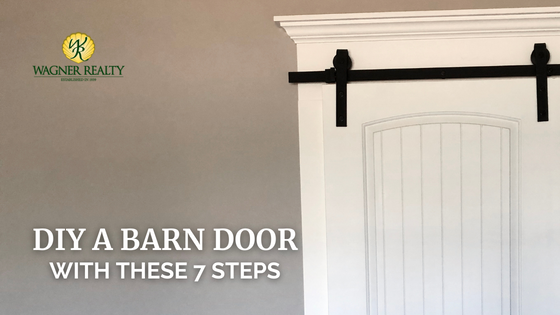
Barn doors look lovely in country chic homes and even in some cottage-style houses. They work well as closet doors, pantry doors, and even as laundry room doors. While there are plenty of pre-made barn doors for sale, making your own barn door is a fun project — and a great way to personalize your new home! Follow these steps from our real estate agents to make your own barn door.
|
|
This site is hosted, designed and copyright
© 1994 - 2026 by
Delta Media Group, Inc. -- Patent Pending --